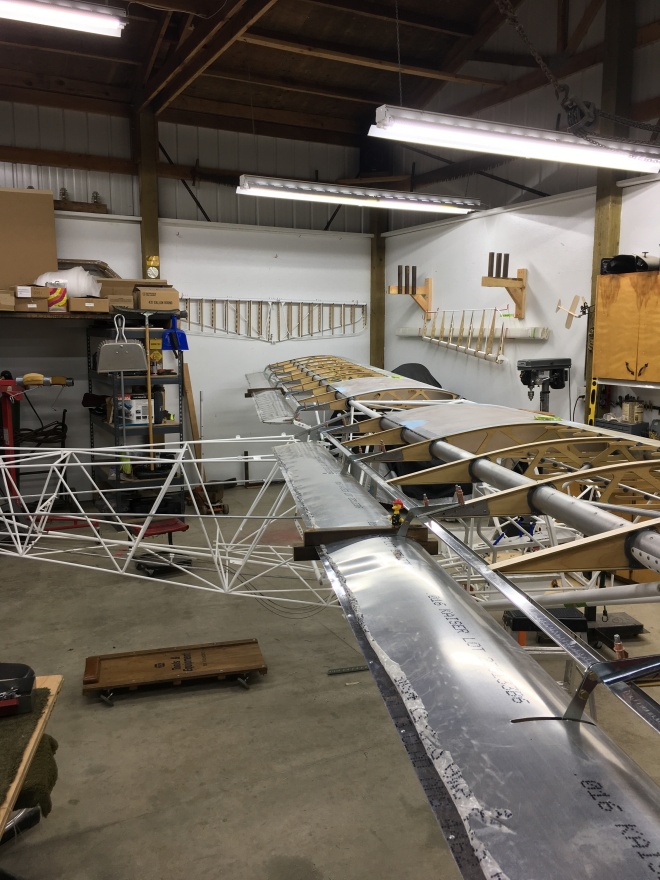
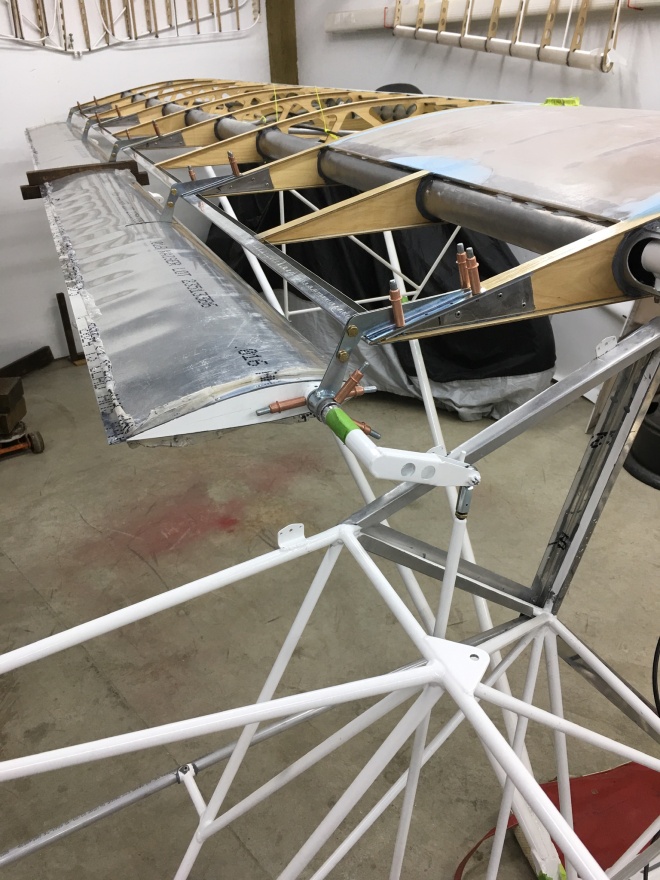
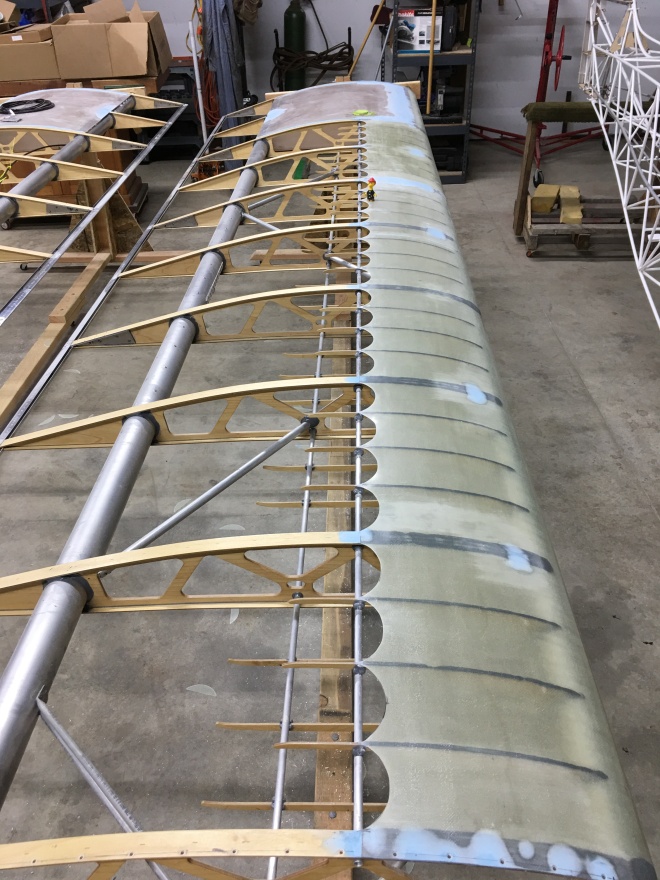
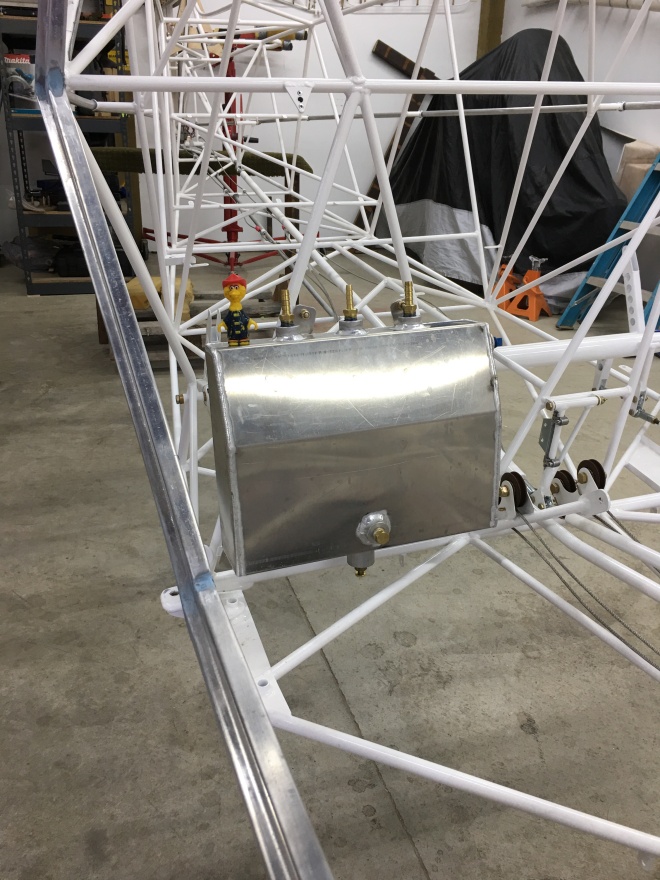
Now that all of the prep work is complete on the flapperons I mounted them on the wings with five hinges.At this point it is much easier to rig the flight controls, all of the adjustments are acceptable. This shows the control push/pull tube attached to the control horn on the end of the flapperon.All adjustments are to spec and all jam nuts and bolts are torqued to spec. Next it’s time to remove the flapperons and set them aside until painting. The wings come off also to be put back on the rotisserie’s. There is some finish work on the bottom where the laker Leading Edge meets the ribs.Here they are on the rotisserie’s.The blue color is Super-Fil that helps create the air foil.With the underside completed all that was left was to scallop the upper Leading Edge between the ribs and false ribs. One last detail is to finish the pitot tube. My 37 degree flaring tool should arrive tomorrow. Once that is done the wings will be ready to cover.Went ahead and installed the header tank. There are several ends to coordinate at this time. I will be getting my avionics package from Advanced Flight Systems. Some of the components will need to be installed before the fuselage is covered, i.e. ADHARS, and the auto pilot servos. Also the trim wiring and trim sensor wiring needs to be routed forward.
The flapperons are attached to the wings with five hinges mounted on the odd number ribs. This pic shows the reinforcing plates that are bonded and riveted on both sides of the five ribs.This pic and the next show all of The Superfil sanded and shaped into the leading edge and the top of the fuel tanks.Now it’s time to start on the flapperons. First is to install the control horns and the number one hinge. The control horns will be permanently installed at final assembly after the painting is completed.Next is to install the counter balances. There are two for each flapperon. They are bonded and riveted.This shows a ruffed out piece of balsa for the tip.Here it is shaped and ready for a coat of hysol to harden it up.Still needs a little sanding with 400 grit.
The flapperons are attached to the wings with five hinges mounted on the odd number ribs. This pic shows the reinforcing plates that are bonded and riveted on both sides of the five ribs.
Here is one of the hinge pieces being positioned for drilling. There are ten rivets per hinge.Here is the flapperon temporarily attached to the wing.All five hinges are fitted at this stage but not installed until final assembly after the wings is covered.
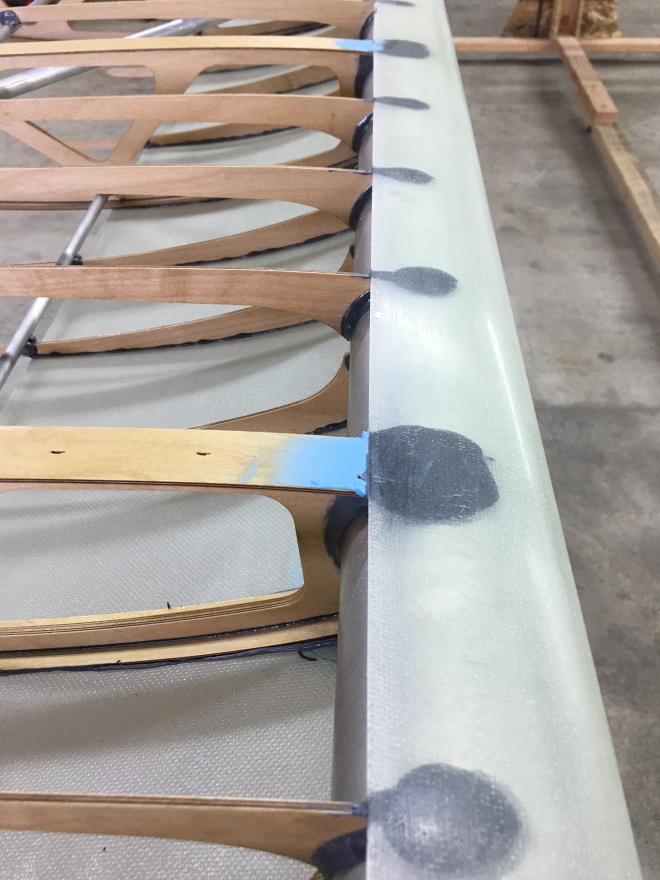
The blue compound you see is Super-fil. There will be quite a bit of sanding involved to feather in the fuel tanks to create a nice smooth airfoil.This pic shows Super-fil at the seam that will need to be sanded.Here is the left side.The next few pictures show some aluminum strips that will be bonded and riveted after the fabric is put on. These strips are what holds the wing tips on. They needed to be fitted now but not finished until part way through fabric covering.
Still waiting for the Super-fil to cure, takes longer in this cold weather, so I started on the flapperons. The first chore is to rivet the trailing edge. The pop rivets supplied were a little long so I filed off the excess and polished them up with a dremel and aluminum polish. Much better.There are 18 rivets 8” apart on each trailing edge.This is the left end of the flapperons with the end cap clecoed in place.Here is the right flapperon finished.I got started on the left outboard cap. It will be balsa wood and finished in the same manner as the horizontal stabilizer and elevator. I only had enough balsa for one side, more ordered.