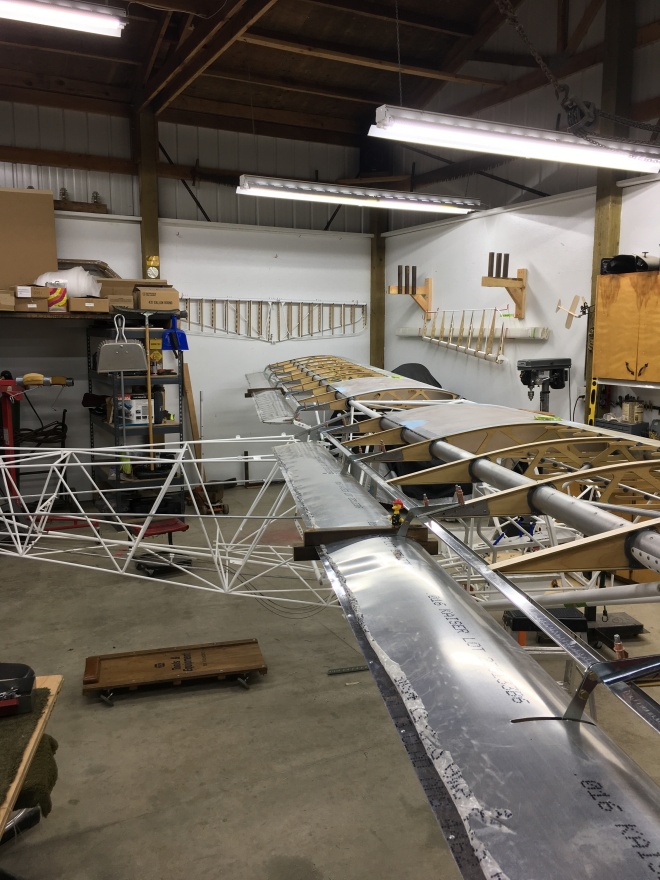
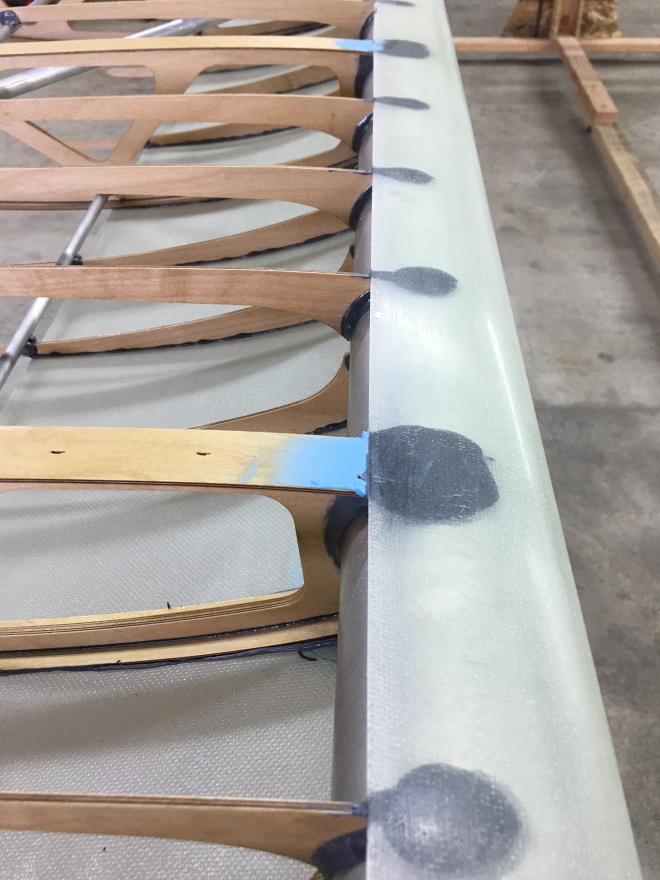
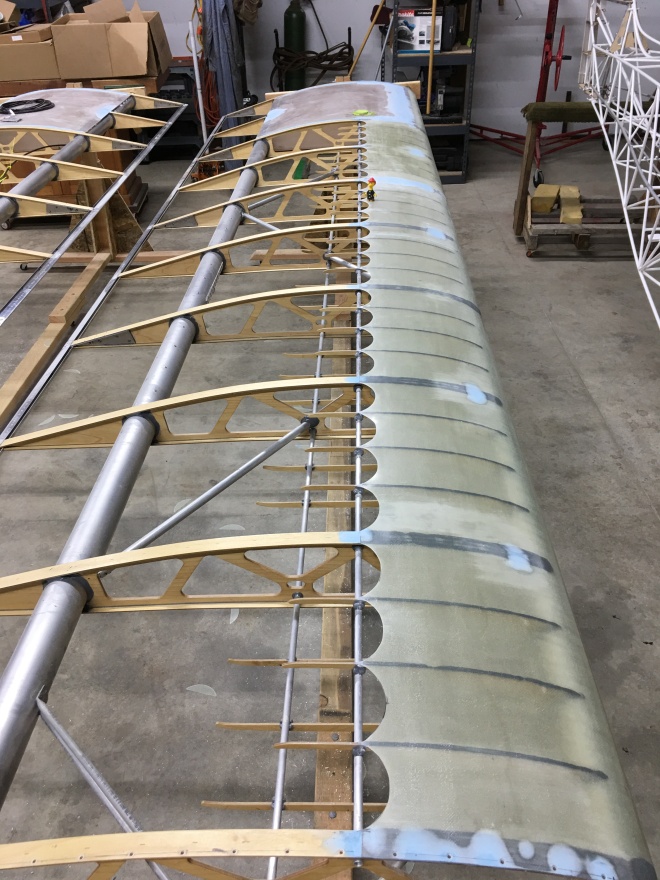
Bought some 3/8 aluminum tubing.035 wall thickness. Cut to length to fit into each trailing edge. These pieces are bonded in place to stiffen the trailing edge so that when the fabric is shrunk the trailing edge won’t be distorted.Here is a pic of where the aluminum is placed.Both wings completed.Got some supplies from Aircraft Spruce. The green “stuff” is Torque Seal. All of the control rods and bellcrank are torqued to spec so this is a visual aid for quick inspection.Easy to see if the nuts come loose. Next up is to cover the wings. I have my work area ready and all of the supplies at hand. Excited to move onto the covering process.
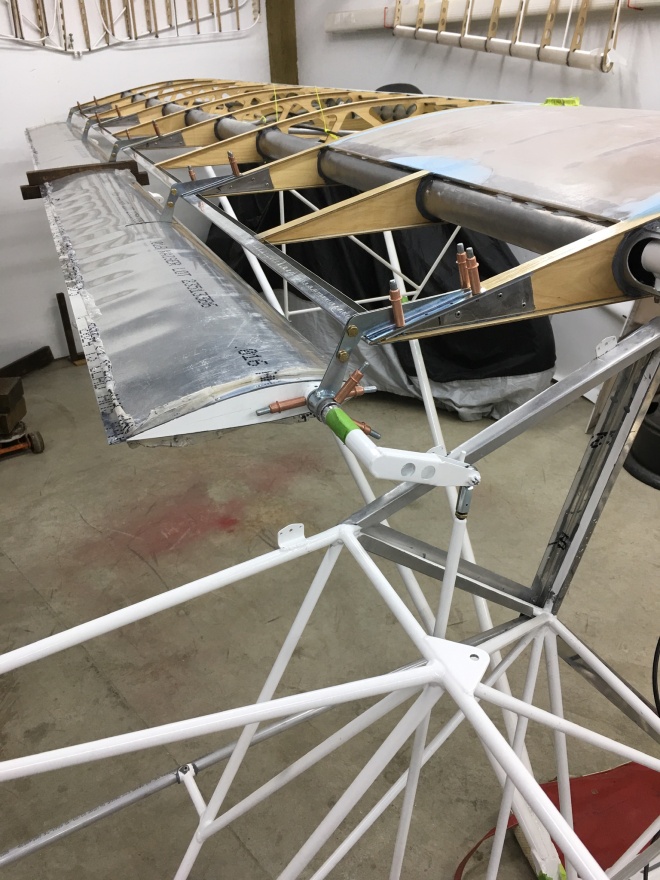
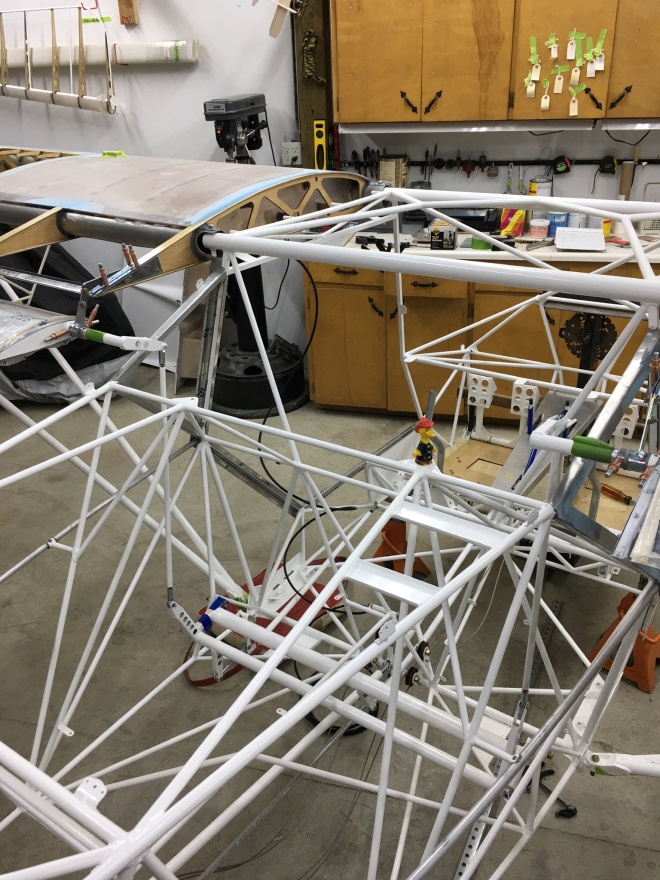
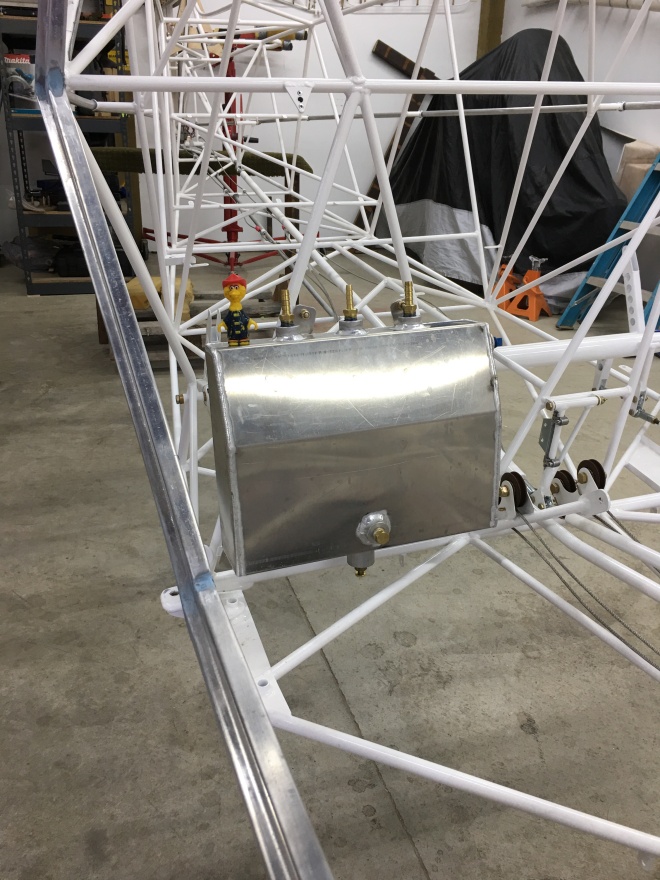
Now that all of the prep work is complete on the flapperons I mounted them on the wings with five hinges.At this point it is much easier to rig the flight controls, all of the adjustments are acceptable. This shows the control push/pull tube attached to the control horn on the end of the flapperon.All adjustments are to spec and all jam nuts and bolts are torqued to spec. Next it’s time to remove the flapperons and set them aside until painting. The wings come off also to be put back on the rotisserie’s. There is some finish work on the bottom where the laker Leading Edge meets the ribs.Here they are on the rotisserie’s.The blue color is Super-Fil that helps create the air foil.With the underside completed all that was left was to scallop the upper Leading Edge between the ribs and false ribs. One last detail is to finish the pitot tube. My 37 degree flaring tool should arrive tomorrow. Once that is done the wings will be ready to cover.Went ahead and installed the header tank. There are several ends to coordinate at this time. I will be getting my avionics package from Advanced Flight Systems. Some of the components will need to be installed before the fuselage is covered, i.e. ADHARS, and the auto pilot servos. Also the trim wiring and trim sensor wiring needs to be routed forward.
The flapperons are attached to the wings with five hinges mounted on the odd number ribs. This pic shows the reinforcing plates that are bonded and riveted on both sides of the five ribs.This pic and the next show all of The Superfil sanded and shaped into the leading edge and the top of the fuel tanks.Now it’s time to start on the flapperons. First is to install the control horns and the number one hinge. The control horns will be permanently installed at final assembly after the painting is completed.Next is to install the counter balances. There are two for each flapperon. They are bonded and riveted.This shows a ruffed out piece of balsa for the tip.Here it is shaped and ready for a coat of hysol to harden it up.Still needs a little sanding with 400 grit.
The flapperons are attached to the wings with five hinges mounted on the odd number ribs. This pic shows the reinforcing plates that are bonded and riveted on both sides of the five ribs.
Here is one of the hinge pieces being positioned for drilling. There are ten rivets per hinge.Here is the flapperon temporarily attached to the wing.All five hinges are fitted at this stage but not installed until final assembly after the wings is covered.
The blue compound you see is Super-fil. There will be quite a bit of sanding involved to feather in the fuel tanks to create a nice smooth airfoil.This pic shows Super-fil at the seam that will need to be sanded.Here is the left side.The next few pictures show some aluminum strips that will be bonded and riveted after the fabric is put on. These strips are what holds the wing tips on. They needed to be fitted now but not finished until part way through fabric covering.
Still waiting for the Super-fil to cure, takes longer in this cold weather, so I started on the flapperons. The first chore is to rivet the trailing edge. The pop rivets supplied were a little long so I filed off the excess and polished them up with a dremel and aluminum polish. Much better.There are 18 rivets 8” apart on each trailing edge.This is the left end of the flapperons with the end cap clecoed in place.Here is the right flapperon finished.I got started on the left outboard cap. It will be balsa wood and finished in the same manner as the horizontal stabilizer and elevator. I only had enough balsa for one side, more ordered.
Now that the varnishing is finished it’s time to fit the Laker Leading Edge. There are four pieces of formed fiberglass that make up the leading edge. The first two pics show it clecoed in place.
As suggested by a couple of builders I cut out the fiberglass around the fuel tanks. Super-fil will be used to complete the air foil.Here is a closeup of the left inboard piece.Both sides are bonded. I will let the hysol cure overnight then do the outboard pieces.
This is a view from the end of the right wing.Removed all of the clecos and clamps.Next I will sand off all of the rough spots and Super-fil all of the divots.
Bonded and riveted trailing edge pieces.Next was to bond five 1 1/2” ABS pieces across the front spar. These pieces hold the Laker Leading Edge in place on the front spar.Here one of the pieces attached and hysol curing.All of the ribs have been given two coats of epoxy varnish. I will now need to reattach the wings to the fuselage and bond the leading edge.Also finish sanded the Super-Fill on the triangle windows.And here it is bonded and clamped to the elevator bellcrank. This option reduces the effort needed to hold the elevator during the landing flair.This pic shows the jury strut brackets clecoed to the spars.Here the wing is removed and on the rotisserie, note the jury strut brackets installed.The build instructions call for Hysol to be used to close the gap between the #1 and #3 upper cap strips and the fuel tank. I opted to use fiberglass resin and fiberglass matting. This shows the wing upside down. I used masking tape and wax paper as the release agent.A little hard to see here but this shows the same thing at the number one rib.Number two rib clamped and bonded.Another view of the number two rib plus fuel tank false ribs ready to bond.I used fiberglass resin to bond the #2 rib and false ribs.This is the trailing edge piece fitted and ready to bond. It is also riveted but just to the #2 rib.
The last thing I need to do before the wings are removed is to install the jury struts. All was going well until I realized that the mounting holes were drilled in the wrong place. Oops, the plan is to weld the holes in and redrill. They are stainless so I am having a friend do the job for me.This is where the bracket is mounted on the rear spar. Hopefully I can finish this part in the next few days.I went ahead and installed the fuel tanks.To keep the build moving forward I worked on a few small chores. One is to apply Super-fil to the triangle window frames and door frames. The idea is to smooth them out to make the fabric seamless.I also temporarily put the horizontal and elevator on to adjust the push/pull tubes. Once that was completed the trim actuator was adjusted.Next up was to install the trim position indicator sensor. This pick shows the tip of the sensor resting on the arm.Here is the arm bonded in place.I was going to install the Trim Assist Kit but the incorrect bracket was supplied with the kit. Sent email to Kitfox.
The butt ribs are now fitted. Contrary to the manual, and by recommendation from other builders, I swapped sides on the butt ribs. The reason is to put the wider part of the cap strip to the inside. By doing this the holes drilled in the acrylic windshield are further from the edge so less chance of cracking.The next part of the build is to give the butt ribs, #1 rib and #3 ribs at lease two coats of epoxy varnish. The butt ribs will be permanently attached later. Next task is to fit the jury struts.
Finished attaching the lift strut brackets on both wings.This shows the lift strut attached and ready to install on the fuselage.The fuselage has been leveled and the wings attached. Shown is the right wing with the #1 rib bonded in place.Here is the left side with the #1 rib bonded. After the hysol has cured the wing sweep, dihedral and washout are checked again.I set the fuel tanks in place and decided to trim the flanges so that it was parallel to the #3 rib. I did this to both tanks then sanded a little where the tanks contact the spars to get them so they set flat on both spars.Same thing on both sides.I will leave a gap so that there is room to rib stitch the #3 rib. After I was finished fitting the tanks I pressure tested them, no leaks! Sloshing is also done.Here is a view of the butt ribs with an aluminum strip bonded on the underside of the upper cap strips. This reinforces the windshield attachments.I purchased the pre-fab kit. These art he jury strut brackets that needed some work. Rounded off the ends and drilled the appropriate size holes and of course deburred them. Next task is to fit the butt ribs.
Here is one of the spar root ends with reinforcement fittings clecoed in place.And here is the left wing spar root end finished.And the left leading spar root end.This is a view of where the wing strut bracket attaches. All 44 holes are drilled, deburred, and wiped down with IPA.Here it is clecoed.Wing strut bracket riveted with 44 stainless steel rivets. One finished three to go.This is one of the front spars with the “crucial” hole drilled.And the rear spar with the factory drilled hole.These are the spar root end reinforcement fittings. Each spar root end has four of these bonded and riveted to strengthen the anchor points at the carry-through tube.This is a pic of the left wing upside down with a look at the wing strut brackets. These will be prepped, bonded and riveted.