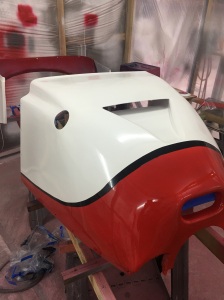
It has been quite a journey so far. Below are a few pics and a mishap of the final parts to be painted.


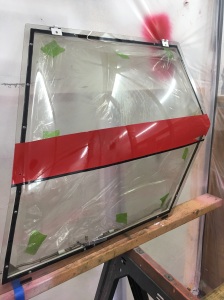

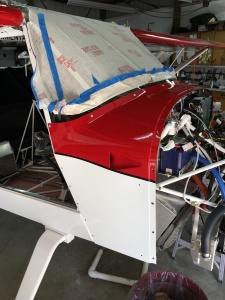
Below is the pilot side door. Not sure why the paint pealed off when I removed the tape. Had to strip all of it off and redo. Bummer:(

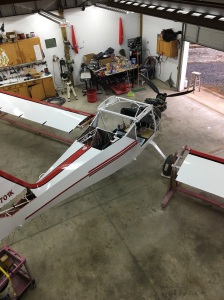
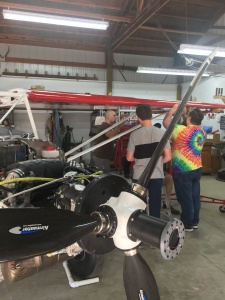
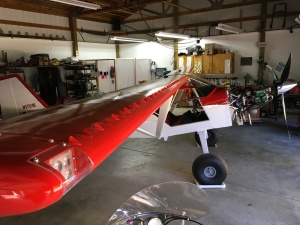
Next was a day that I was really looking forward to. My two son-in-laws, Josh and Nick, plus my grandson Aiden helped install the wings. Thank you so much guys. We did it without bruising anything.



Next up are the tail feathers.


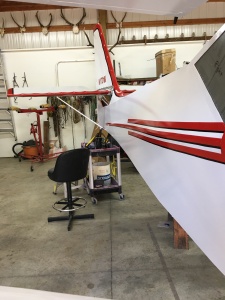
Because I chose to extend the baggage area there was no place to install the ADHARS without the framework interfering with the compass. So the ADHARS is located behind the pilots seat and I installed a remote compass in the left wing tip. The cable for it is plugged into a hub that the ADHARS is connected to, then the hub cable goes forward to the ACM. Below are pics of the remote compass and hub that is under the ADHARS.


After the cable was run for the compass I installed the wiring for the nav lights and landing lights. The navigation lights are non-TSO, so not legal for night flight, but they are bright and I would highly recommend them I think it was 1/2 the price of Aero led. They are called AvioLights Navigator Ultra 360.
The landing lights are made by Josh Esser and are also non-TSO. They have a wigwag feature that is controlled by the ACM.
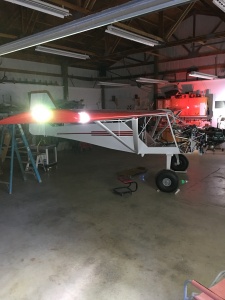

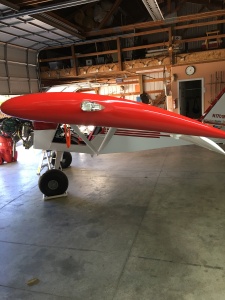


Put on the flapperons next. These were pre-rigged back when I had just put the wings on before covering and painting. So all I had to do was rivet on the horns and bolt on the hinges. Pretty cool to actually have some controls hooked up permanently!


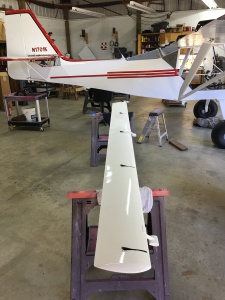

Next was to permanently install the windshield. Must be careful to not tighten the bolts too much, just a little snug so the windshield can expand and contract.

Boot cowl next.

Got a few odds and ends taken care of. Exhaust stinger, vent tube for the oil reservoir secured, rudder cables and Vortex generators on the wing and horizontal.

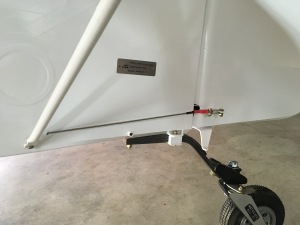
Below is a pic of the left rudder cable completed but also take note of the attach point of the tailwheel leaf spring. I made blocks to replace the bushings supplied be Kitfox. This will make the attach point more stable. Eventually I will most likely go with a T-3 and mini Alaska tailwheel.


Time to get the lower cowl ready. I put heat shielding on the air intake NACA and had some extra to put around the exhaust exit, also a little on the air filter housing. I also installed some silicone matting to seal off the air flow through the NACA. I’m not sure it was real necessary but it couldn’t hurt.


I picked up some thin anti-chafe tape to put on the boot cowl and lower cowl to keep the fiberglass from rubbing together. I will also use it where the turtle deck contacts the fabric. It’s translucent so it doesn’t look out of place.

Doors next. I put on the P-seals and hung the doors. The hard part was figuring out where to mount the door shocks. I also bought some red door straps cuz I didn’t like the stuff supplied by Kitfox, it was not enough material anyway.


Kinda like that Frontier Fox decal.

The last thing on the list is upholstery. The bucket seat is ready but won’t be permanently installed until after the inspection. Also the side console covers and carpet will be installed after inspection.
Went ahead and temporarily installed the lower and upper cowls to check the fit and see what it looks like.


I have been doing the paper work and some testing. Weight and balance are calculated. It came in at 805 lbs and the C.G. At 9.4
Fuel flow has been checked.
I have also spent the day updating this blog. I will condense it and print out a build log for the Airworthiness inspection which will be scheduled as soon as I get the registration.
In the meantime there are a few odds and ends to do.