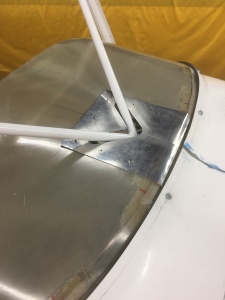
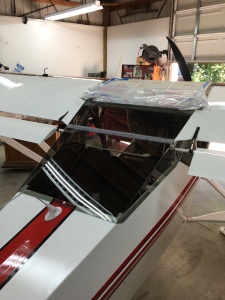
Time to prep the windshield. I was a little nervous handling the windshield. It is acrylic and must be handled with out bending it too much. Acrylic drill bits must also be used to keep from cracking. The directions are pretty easy to follow. The idea is to slowly trim it to fit at the butt ribs, boot cowl, door frames and aft to the turtle deck.


All of the edges were sanded smooth and all 42 bolt holes are beveled and sanded smooth.
Next up was to fit the glare shield. The first pics show how I strayed a little from the way the factory instructions show. It will make the glare shield easier to install, at least that’s the idea.
Something else that I did to make the glare shield easier to fit was to not have the windshield installed. Instead I used the part of the windshield that was trimmed off as a spacer that simulates the windshield. If you look closely you can see the spacer is attached to the boot cowl.


The pic below is made to fit around the tubing and will be left in place when I need to remove the glare shield.


The above pic shows how the main part of the glare shield fits into a slot on three sides of the cross tube piece. Big Bird the fireman likes the view.
Below shows the glare shield edge finished off with with a piece of trim.

Next up, the turtle deck. I bought the optional hinge kit from Kitfox. The directions were straight forward and I am happy with the fit. All edges were sanded smooth and the holes beveled to reduce the chances of cracking.
Notice that the wings are installed before I fitted the turtle deck. I used the inside flapperon hinges to pinpoint the spot where the flapperon control rod will pass through the side of the turtle deck.


